I was given a task of writing content for our company blog and the requirements for adding content to the blog are simple, use my day to day experience in 3D printing to share some of the common questions I get on a daily basis.
We have sold a lot of HP 3D printers since we started this journey a few years ago, and one of the most common questions I get on a routine basis is what is the process for delivering and installing an HP 3D printer.
It is a great question and one that requires detailed information to answer.
Purchasing an HP 3D printer can be a quick process but often takes substantial time to get through with the various evaluation and purchasing steps. This purchasing process can be a whole other topic for another blog. For this blog, let’s assume you have chosen an HP system.
The first thing we do is go through an in depth pre-site survey with our customers. HP has put this together with a lot of thought and design for not only on how the unit will be used but for servicing as well. The purpose for the pre-site survey is make sure there are no surprises in the delivery through installation process.
In the pre-site survey there are detailed instructions on things such as delivery plans, uncrating, needed electrical connections, installation expectation by our dedicated service team, etc….
I have been a part of almost all of the installations and I have to admit the pre-site survey covers it all This must be signed by the customer before shipment takes place as this ensures a successful delivery and install.
What are some of the items on the site survey?
First we need to know is how to get the printer off the truck. Does the customer facility have a loading dock with a fork lift? We also need extended forks to remove a crate the size of a small car from a 48-foot truck- this is not a small printer! We of course will supply this forklift if needed.
Typically, four crates arrive at the customer facility within 3 weeks from the date of the purchase order as well as many boxes and a pallet of material.
We coordinate the delivery date to our customer’s facility and our service manager schedules the installation date around this. We make sure all items needed for the installation are where they need to be.
We make sure the spot where the printer will be located is in a clean dry location that has a consistent temperature, free from contaminants from other manufacturing processes such as oil and vibrations from stamping presses.
Time to uncrate and begin the setup. I can honestly say HP does a very detailed job of crating the machines. These items are bolted down and can take several hours to uncrate. Once uncrated we roll the units into position in the plant.
We instruct the customer of the electrical requirements ahead of time so that they can have an electrician perform the electrical hookup and air required for the post processing station.
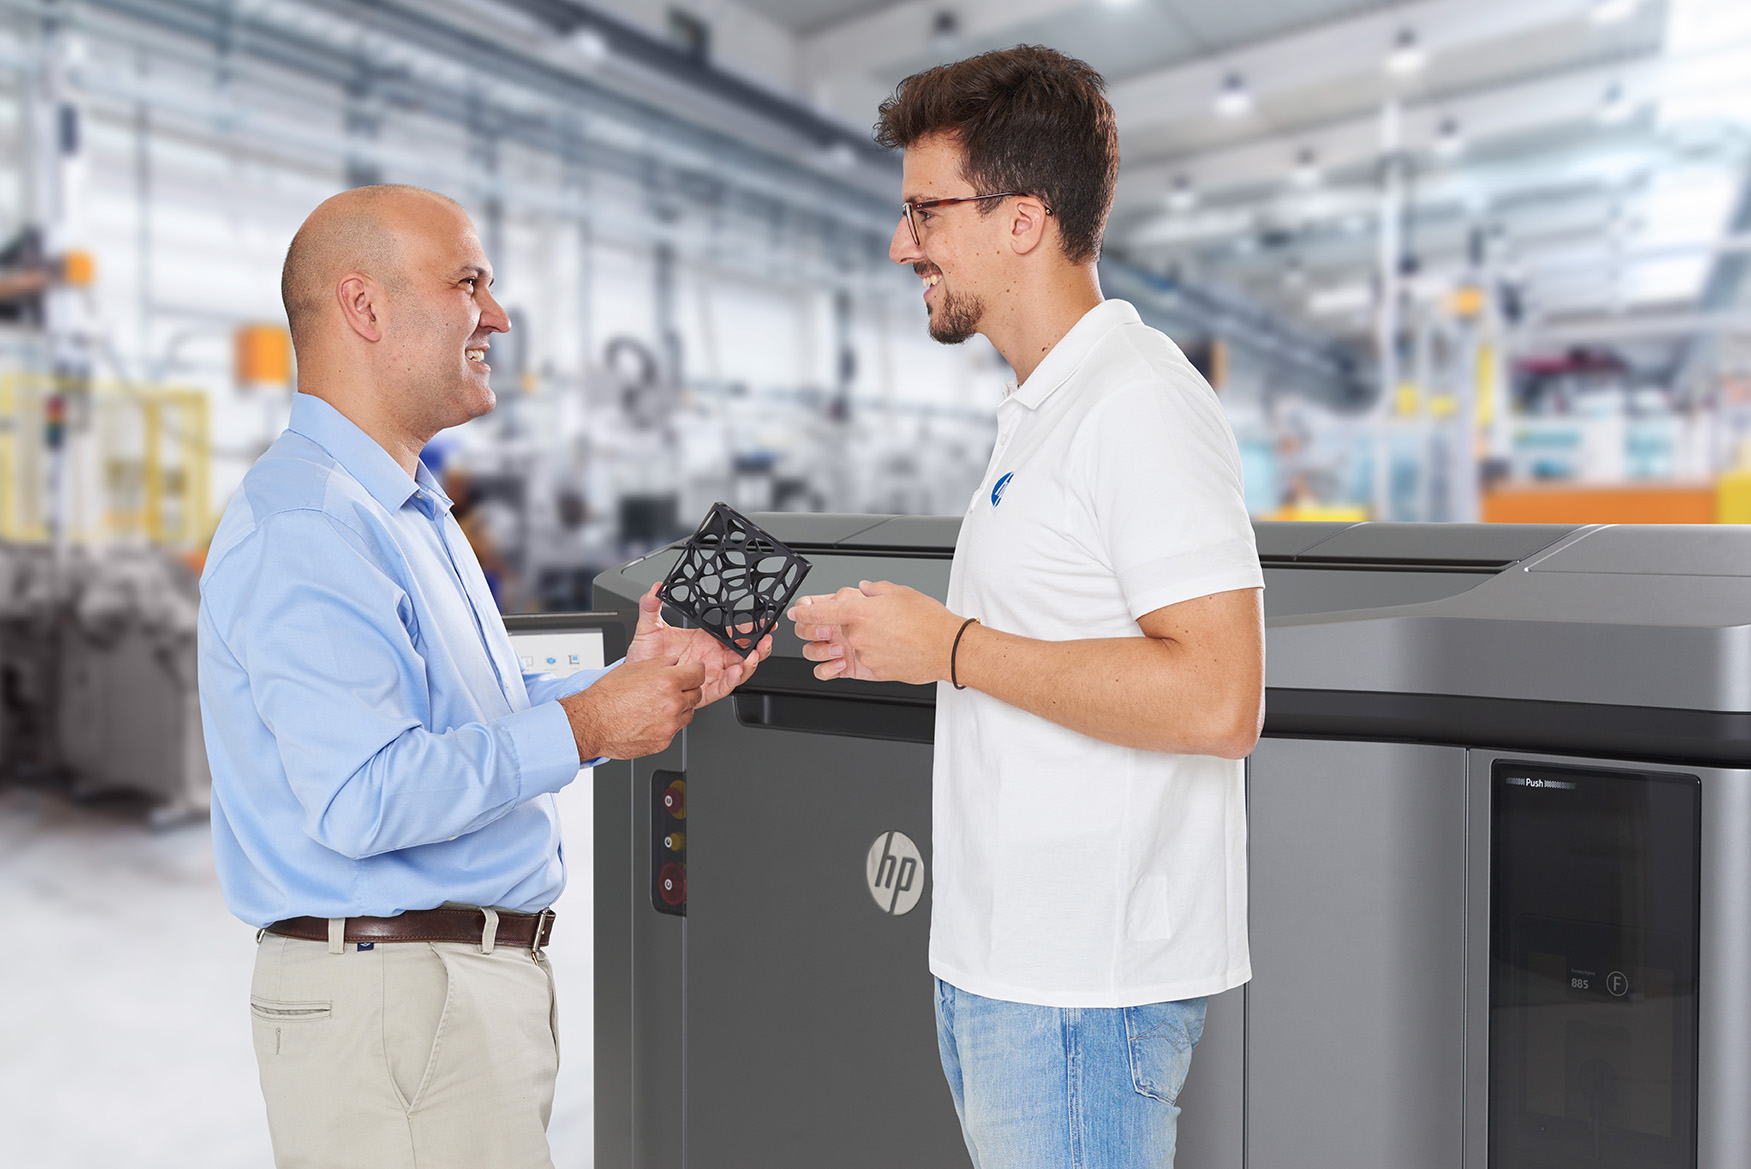
Usually at least 2 people from our service group arrive to perform the installation. It is the mission of our service group to make sure the printer will build parts to HP’s set specifications as well as train the customer’s personnel on best practices. The training is a very detailed process.
The initial training includes basic printer maintenance and operation of HP’s Smart Stream. Smart Stream is the HP software that allows the customer to create print builds that you can send to the printer.
The one thing I have learned about the training is that the amount of training is dependent on what the customer needs and we can adapt the steps accordingly. However, I have found that normally the installation takes at least a full week.
That initial training is not all that is included. HP has realized that additional training is needed beyond basic usage. The first week of training is basic but this a production unit – clients need to understand best practices. HP added another training step called “Ramp Up training” which us unique to the industry. Ramp up training is scheduled by the customer about a month after installation of the printer. It is designed to make sure the customer fully understands the printer and all of its features. This is effective because at this time you have a better understanding of the capabilities of the printer and more aware of the needs or questions you may have.
During the first few weeks of running the printer I have seen a lot of customers able to build basic parts but the ramp up feature is a huge help in fully utilizing the new HP printer.
Installation of the printer is not the only thing we cover in that first week. During the purchasing process we recommend and sell a vacuum system for cleaning the work area and a bead blast post processing station. Our service group makes sure the customer fully understands the vacuum system and its operation as well as how to properly bead blast parts to remove any excess powder.
In a large nutshell that is the installation process for an HP printer and rest assured HP has transformed training around 3D printing along with their revolutionary technology. The printer acquisition is just the start, ongoing training and technician support are the real keys to success.